Welcome to the Euro Pro Sewing Machine Instruction Manual! This comprehensive guide helps you set up, operate, and maintain your machine with ease. Discover safety tips, threading guides, and troubleshooting solutions tailored for both novice and experienced sewists.
1.1 Overview of the Euro Pro Sewing Machine Models
Euro Pro offers a variety of sewing machine models designed for both beginners and advanced sewists. Popular models include the Euro Pro 7100, 6130A2, and 385X, each featuring unique capabilities. These machines are known for their user-friendly interfaces, automatic threaders, and diverse stitch options. Some models are computerized, offering over 400 stitch functions, while others are mechanical, ideal for basic sewing tasks. The Euro Pro 7100, for instance, is highly regarded for its precision and versatility, making it a favorite among hobbyists and professionals alike. This manual covers essential operations across these models.
1.2 Importance of Reading the Instruction Manual
Reading the Euro Pro Sewing Machine Instruction Manual is essential for safe and effective operation. It provides critical safety precautions, detailed guides for threading, and troubleshooting tips to resolve common issues. Understanding the manual ensures you maximize the machine’s features, maintain proper maintenance routines, and prevent potential damage. By following the instructions, you can avoid errors, extend the machine’s lifespan, and enhance your sewing experience. This guide is your key to mastering your Euro Pro sewing machine efficiently and confidently.
Safety Precautions and Guidelines
Ensure a safe sewing experience by following essential precautions. Keep the machine away from children, avoid loose clothing, and unplug it during maintenance to prevent accidents.
2.1 Essential Safety Tips for Using the Sewing Machine
Always unplug the machine when cleaning, lubricating, or servicing to prevent accidental start-up. Keep loose clothing and long hair tied back, and avoid wearing jewelry that could get caught. Ensure the machine is placed on a stable, flat surface away from children and pets. Never operate the machine while tired or distracted, as this increases the risk of accidents. Regularly inspect the power cord and plugs for damage, and avoid sewing near flammable materials or open flames. Proper ventilation is also crucial to prevent lint and dust buildup.
2.2 Understanding Warning Labels and Symbols
Warning labels and symbols on your Euro Pro sewing machine are crucial for safe operation. These labels indicate potential hazards, such as sharp parts, hot surfaces, or electrical components. Pay attention to symbols like the “Keep Children Away” icon or the “Handle with Care” marking. These warnings are designed to prevent accidents and ensure proper usage. Always read and follow the instructions accompanying these labels to maintain safety while sewing. Regularly inspect the machine for any worn or missing labels and refer to the manual for guidance on their meaning and importance.
2.3 Safety Guidelines for Children and Pets
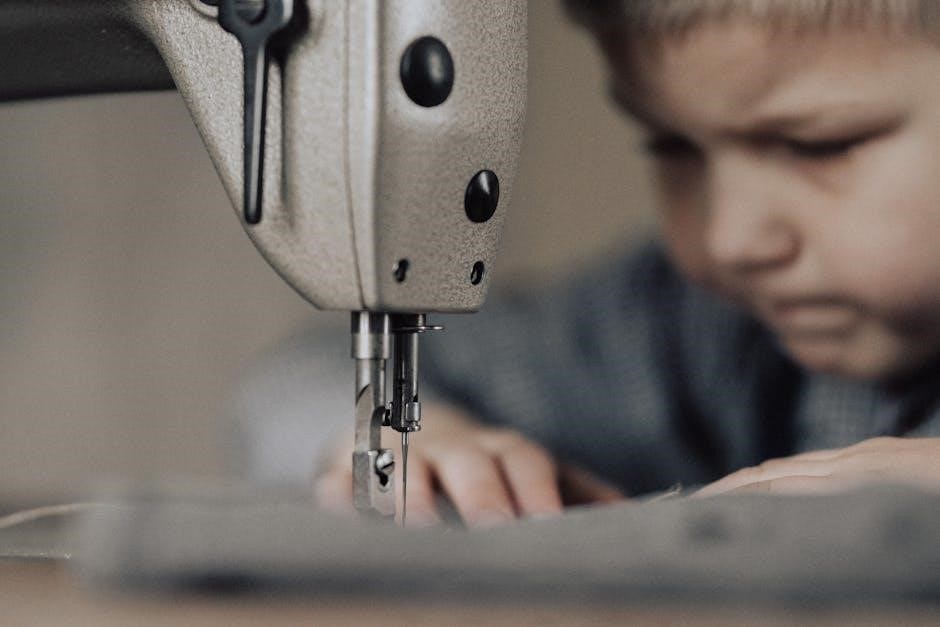
Keep children and pets away from the sewing machine while in operation. Ensure the machine is out of their reach to prevent accidental injuries. Supervise children closely to avoid any curiosity-driven interactions. Store sharp objects, like needles and scissors, in a safe place. Pets may be startled by the machine’s noise or movement, so keep them at a distance. Regularly inspect the area for loose threads or small parts that could pose a choking hazard. Always unplug the machine when not in use to ensure a safe environment for everyone.
Understanding the Machine Components
Explore the essential components of your Euro Pro sewing machine, including the principal parts, control panel functions, and accessories, ensuring a smooth sewing experience.
3.1 Identifying Principal Parts of the Sewing Machine
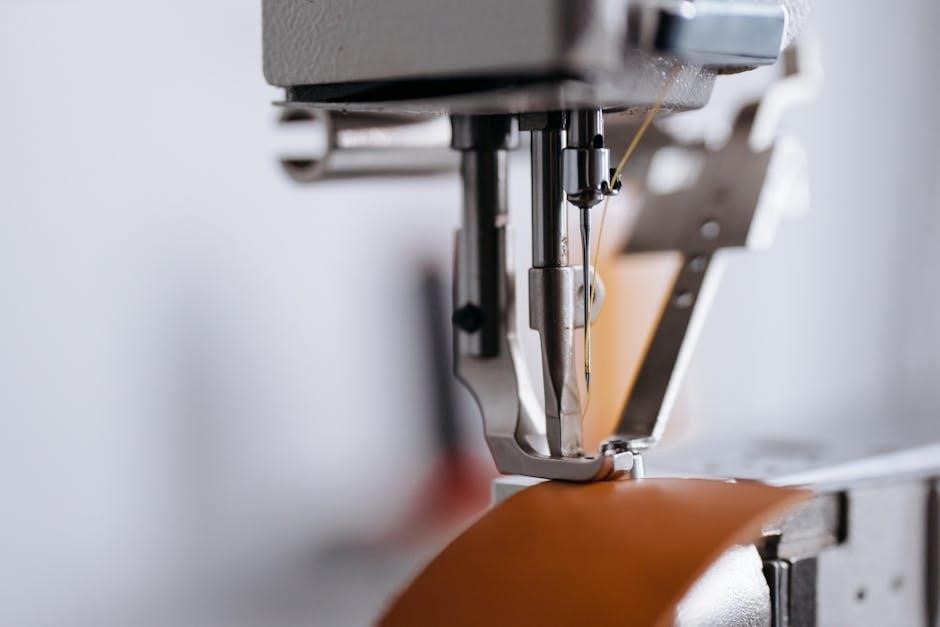
Familiarize yourself with the key components of your Euro Pro sewing machine, such as the control panel, spool pins, bobbin case, presser foot, and balance wheel. The control panel houses stitch selection and tension controls, while the spool pins hold the thread. The bobbin case is essential for proper stitch formation, and the presser foot ensures fabric stability. The balance wheel allows manual control of the needle. Understanding these parts is crucial for effective operation and troubleshooting.
3.2 Exploring the Control Panel and Its Functions
The control panel is the command center of your Euro Pro sewing machine, offering intuitive access to various functions. Key features include stitch selection, thread tension adjustment, and an LCD display for monitoring settings. Use the buttons to choose from multiple stitch patterns, adjust sewing speed, and engage reverse sewing. The panel also includes controls for needle position, automatic thread cutting, and special functions like quilting or embroidery modes. Familiarizing yourself with the control panel enhances your sewing experience, allowing precise control over every stitch.
3.3 Accessories Included with the Machine
Your Euro Pro sewing machine comes with a variety of essential accessories to enhance your sewing experience. These include multiple presser feet for specialized tasks, such as zipper, buttonhole, and blind hem feet. Additional accessories like bobbins, needles, and a seam ripper are also provided. Some models include a quilting kit, extension table, and protective carrying case. These tools help you tackle various projects, from basic repairs to complex quilting designs, ensuring versatility and convenience for every sewing need.
Threading and Basic Operations
Master the basics with this section, covering threading techniques, bobbin winding, and selecting stitches for various fabrics. Sew your first straight line with confidence and precision.
4.1 Step-by-Step Guide to Threading the Machine
Threading your Euro Pro sewing machine is a straightforward process when done correctly. Start by turning off and unplugging the machine for safety. Locate the spool pin and draw the thread through the tension disc, ensuring it clicks into place. Gently pull the thread to test tension. Next, guide the thread through the take-up lever and then through the needle’s eye, leaving a small loop. Pull the thread gently to seat it properly. Trim any excess thread and ensure the machine is threaded correctly before sewing. Always refer to your manual for model-specific instructions.
4.2 Winding and Installing the Bobbin
To wind the bobbin, start by unplugging the machine for safety. Place the bobbin on the winder and draw the thread through the bobbin’s hole. Wind the thread evenly, keeping it tight to avoid tangling. Once full, cut the thread and remove the bobbin. To install, insert the bobbin into the bobbin case, ensuring it spins correctly. Gently pull the thread to set the tension. Make sure the bobbin is securely seated and the thread is not tangled before sewing. Proper installation ensures smooth stitching and prevents thread breakage.
4.3 Selecting the Right Stitch for Your Fabric
Selecting the correct stitch for your fabric ensures professional-looking results. For woven fabrics like cotton or linen, use a straight stitch. Knits and stretchy fabrics require a zigzag or stretch stitch to prevent tearing. Delicate fabrics like silk benefit from a fine straight or blind hem stitch. Heavy-duty fabrics such as denim or canvas work best with a heavy-duty straight or jeans stitch. Always match the stitch type to your fabric weight and project needs for optimal results. Adjust stitch length and width as needed for the best outcome.
4.4 Sewing Your First Straight Line
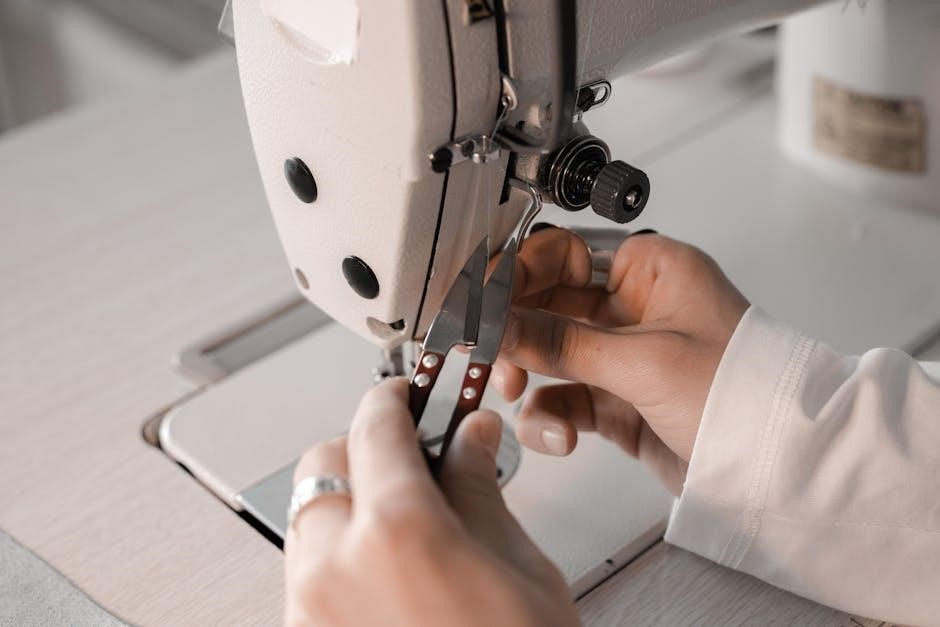
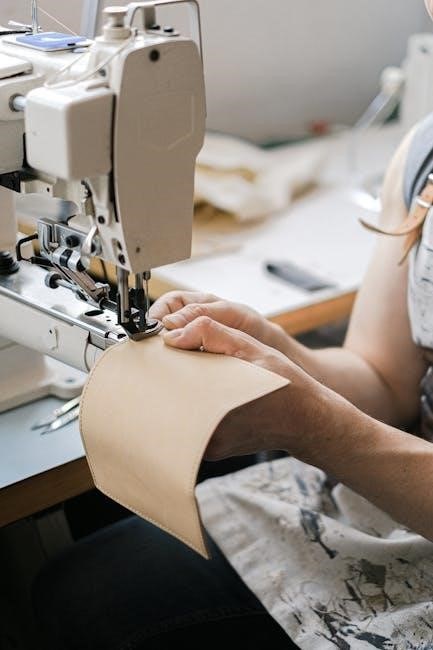
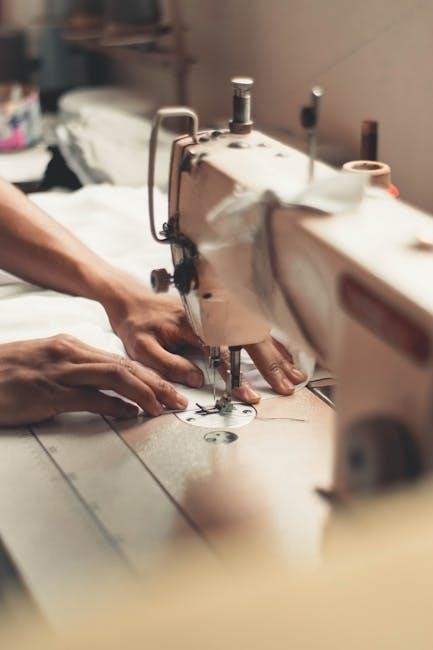
Start by ensuring your machine is set to the straight stitch option. Place your fabric under the needle, aligning the edge with the machine’s guide. Lower the presser foot gently and hold the fabric steady. Slowly press the foot pedal to begin sewing. Keep the fabric moving at a steady pace, maintaining a straight line. For practice, sew along the edge of scrap fabric to get a feel for the machine. Backstitch at the beginning and end for secure seams. Turn the machine off and trim loose threads neatly.
Advanced Features and Stitch Options
Explore the Euro Pro’s advanced features, including built-in stitch patterns, automatic threader, and customizable settings. These options enhance versatility and precision for intricate and professional-level sewing projects.
5.1 Overview of Built-In Stitch Patterns
The Euro Pro sewing machine offers a wide variety of built-in stitch patterns, including straight, zigzag, and decorative stitches. These stitches cater to different fabrics and sewing needs, from basic repairs to intricate embroidery. Models like the Euro-Pro 7100 and 6130A2 feature over 400 stitch functions, providing versatility for both novice and advanced sewists. The machine’s LCD screen allows easy selection of stitches, while the manual provides detailed diagrams and recommendations for optimal use. This feature enhances creativity and precision in sewing projects, making it a valuable tool for crafting and tailoring.
5.2 Using the Automatic Threader
The Euro Pro sewing machine features an automatic threader, designed to simplify the threading process. To use it, press the threader button, guide the thread through the designated path, and let the machine do the work. This feature saves time and reduces eye strain. Ensure the thread is properly seated in the tension discs for optimal performance. Regularly clean the threader area to maintain functionality. Refer to the manual for detailed steps and troubleshooting tips to maximize this convenient feature.
5.3 Adjusting Tension for Different Fabrics
Proper tension adjustment is essential for achieving even stitches on various fabrics. For lightweight fabrics like cotton or silk, reduce the upper thread tension. For heavier materials, such as denim or canvas, increase the tension. Use the control panel or manual dials to adjust settings. Always test on a scrap fabric before sewing your final piece. Ensure the bobbin thread tension is balanced to prevent puckering or loose stitches. Regularly clean the tension discs to maintain accuracy. Refer to the manual for specific guidelines tailored to your fabric type.
5.4 How to Use Custom Stitch Settings
Custom stitch settings allow you to tailor your sewing experience to specific projects. Access the custom settings through the control panel menu, where you can adjust stitch length, width, and pattern. Use the LCD screen to preview and select your desired stitch. For personalized sewing, save your favorite stitch combinations using the memory function. Experiment with different settings for various fabrics and techniques. Always test custom stitches on scrap fabric before sewing your final project to ensure optimal results. This feature enhances versatility, making your sewing machine adaptable to any creative need.
Maintenance and Troubleshooting
Regularly clean and lubricate your Euro Pro sewing machine to ensure smooth operation. Address common issues like thread breakage or tension problems promptly to prevent damage. Always refer to the manual for specific solutions and maintenance schedules to keep your machine in optimal condition.
6.1 Cleaning and Lubricating the Machine
Regular cleaning and lubrication are essential for maintaining your Euro Pro sewing machine’s performance. Start by unplugging the machine and using a soft brush to remove lint and dust from the interior. Use a lint-free cloth to wipe down the exterior. Apply a few drops of sewing machine oil to the moving parts, as indicated in the manual, to ensure smooth operation. Avoid over-lubrication to prevent attracting dust. Perform this maintenance every few months or after heavy use to keep your machine in optimal condition and extend its lifespan.
6.2 Common Issues and Their Solutions
Common issues with the Euro Pro sewing machine include thread breakage, uneven tension, and skipped stitches. For thread breakage, ensure proper threading and check for tangles. Adjust bobbin tension if fabric puckers or the thread is too loose. Skipped stitches often result from a blunt needle; replace it with a sharp one. Regularly clean lint buildup to prevent mechanical issues. If the machine jams, unplug it, remove the current project, and gently clear blockages. Refer to the troubleshooting guide for detailed solutions to these and other common problems.
6.3 Fixing Thread Breakage and Tension Problems
Thread breakage and tension issues are common challenges with sewing machines. To address these, start by ensuring proper threading and checking for tangles. Adjust the bobbin tension if the fabric puckers or the thread is too loose. Inspect the needle for dullness and replace it if necessary. Regularly clean the machine to remove lint and debris that may cause thread to catch. Consider using high-quality thread suitable for your fabric type. If problems persist, refer to the manual or online resources for detailed troubleshooting steps to restore optimal performance.
6.4 Resetting the Machine to Factory Settings
To reset your Euro Pro sewing machine to factory settings, start by turning it off and unplugging it from the power source. Locate the small reset button, usually found at the back or bottom of the machine. Press and hold the reset button for 5-10 seconds while plugging the machine back in. This will restore default settings, resolving software glitches or customized adjustments. Note that this process will erase any custom stitch settings, so ensure you have saved your preferred configurations before proceeding.
Accessories and Optional Attachments
Enhance your sewing experience with Euro Pro’s range of accessories and optional attachments, including various presser feet, zipper foot, quilting kit, and more for specialized tasks.
7.1 Types of Presser Feet and Their Uses
The Euro Pro sewing machine comes with various presser feet, each designed for specific tasks. The all-purpose foot is ideal for straight stitching and general sewing. The zipper foot allows for precise sewing along zippers and narrow seams, while the quilting foot helps manage fabric layers smoothly. Additional feet, such as the blind hem and walking feet, cater to specialized techniques, enhancing your sewing versatility and enabling professional-quality results. Explore these attachments to unlock your machine’s full potential.
7.2 Using the Zipper Foot for Precision Sewing
The zipper foot is a specialized attachment designed for precise stitching along zippers, narrow seams, and delicate fabrics. To use it, attach the foot to your machine according to the manual. Align the zipper or seam under the foot, ensuring the edge guides the fabric smoothly. This foot’s narrow design allows for accurate control, preventing fabric from slipping. It’s ideal for installing zippers in garments or bags, ensuring professional-looking results with consistent stitching.
7.3 How to Attach and Use the Quilting Kit
Enhance your quilting projects with the Euro Pro Quilting Kit. Start by attaching the quilting foot and extension table for stability. Thread your machine with the recommended thread type. Select a quilting stitch pattern from the control panel. Place your fabric under the foot, aligning the edge guide with your desired seam. Sew slowly, maintaining steady fabric movement for even stitches. Use the walking foot for thick fabrics or layers. This kit transforms your machine into a quilting powerhouse, ensuring professional-level results for both beginners and experienced quilters alike.
7.4 Other Optional Accessories for Enhanced Sewing
Maximize your sewing experience with additional Euro Pro accessories. A wide range of optional attachments includes specialty presser feet like the zipper foot, blind hem foot, and overlock foot, each designed for specific tasks. An extension table provides extra workspace for large projects. A carrying case keeps your machine and accessories organized. For embroidery enthusiasts, the embroidery hoop allows for intricate designs. These optional extras enhance versatility, making your Euro Pro sewing machine adaptable to any project, from home decor to garment construction and beyond.
Understanding the User Manual
Navigate the manual effortlessly to find specific guidance on machine operation, maintenance, and troubleshooting. Key sections include safety guidelines, parts identification, and step-by-step instructions for optimal sewing performance.
8.1 Navigating the Manual for Specific Information
The manual is structured to help users quickly locate specific information. Use the table of contents or index to find sections like threading guides, troubleshooting, or maintenance tips. Each chapter is divided into clear sub-sections, ensuring easy access to detailed instructions. For example, the troubleshooting guide addresses common issues like thread breakage or bobbin problems. Additionally, diagrams and illustrations are included to visually guide users through complex tasks. This organized format allows sewists of all skill levels to navigate seamlessly and find the information they need efficiently.
8.2 Key Sections Every User Should Review
Every user should review the safety precautions, threading guide, and basic operations sections to ensure safe and effective use of the machine. The troubleshooting guide is essential for resolving common issues like thread breakage or tension problems. Additionally, the maintenance and warranty sections provide crucial information for extending the machine’s lifespan and understanding coverage. These key areas ensure users can operate the machine confidently and address any challenges that arise during their sewing journey.
8.3 How to Interpret Diagrams and Illustrations
Diagrams and illustrations in the manual are essential for understanding machine components and operations. Look for labels and symbols that highlight key parts, such as the needle, bobbin, and presser foot. Refer to the diagram’s legend or key for symbol meanings. Cross-reference visuals with written instructions for clarity. Start with familiar components and use the diagrams to identify new features. Color-coded elements often indicate specific steps or parts. Don’t skip these visuals—they provide clear, concise guidance for setup, threading, and troubleshooting. Use them to enhance your understanding and mastery of the machine.
Preventive Maintenance Tips
Regularly clean and oil your machine to ensure smooth operation. Check for dust and lint buildup, and store the machine in a dry, cool place when not in use.
9.1 Regular Checks to Keep the Machine Running Smoothly
Perform regular checks to ensure optimal performance. Clean the machine, removing lint and dust from the bobbin area and tension discs. Lubricate moving parts as recommended. Inspect the needle and presser foot for damage. Check thread tension and adjust if necessary. Store the machine in a dry, cool place when not in use. Schedule professional servicing annually or as needed to maintain warranty coverage and prevent mechanical issues. Regular maintenance ensures smooth stitching and extends the machine’s lifespan.
9.2 How to Store the Machine Properly
To store your Euro Pro sewing machine correctly, first clean it thoroughly with a soft cloth to remove dust and lint. Cover it with a breathable cloth or sewing machine cover to protect it from dust. Store it in a dry, cool place away from moisture to prevent rust and electrical damage. Remove the needle to avoid breakage and leave the presser foot up to maintain alignment. Wind the power cord neatly around the machine, avoiding tight winding. Consider using silica gel packets to absorb moisture. If possible, store it in the original box or a hard plastic container with padding. Label the container for easy identification. Check on it every few months to ensure it remains in good condition.
9.3 When to Seek Professional Servicing
If your Euro Pro sewing machine experiences persistent issues like uneven stitching, thread breakage, or unusual noises despite basic troubleshooting, it’s time to seek professional servicing. Contact an authorized technician if internal parts need lubrication, adjustments, or repairs. For complex mechanical problems or damage to essential components like the motor or gearbox, professional expertise is crucial to restore optimal performance. Regular servicing ensures longevity and prevents further damage, keeping your machine running smoothly for years to come.
Additional Resources
Explore online tutorials, sewing communities, and customer support for further guidance. These resources offer troubleshooting tips, advanced techniques, and personalized assistance to enhance your sewing experience.
10.1 Online Tutorials and Video Guides
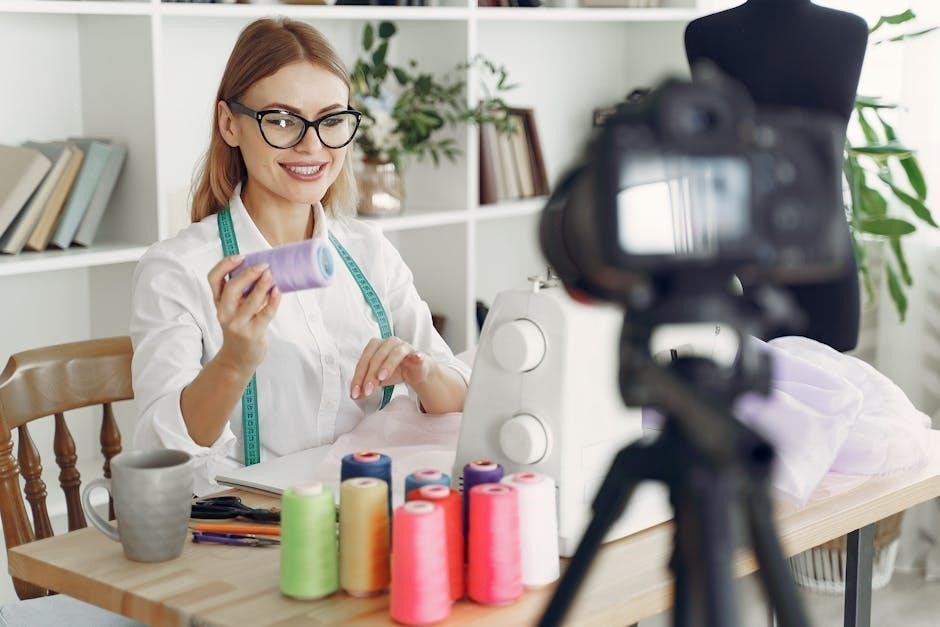
Enhance your sewing skills with online tutorials and video guides tailored for Euro Pro sewing machines. These resources provide step-by-step instructions for setup, threading, and troubleshooting. Popular platforms like YouTube and official Euro Pro websites offer detailed demonstrations. Learn advanced techniques, such as custom stitching and quilting, through visual guides. Many tutorials are model-specific, ensuring relevance for machines like the Euro Pro 7100 or 6130A2. These videos are ideal for visual learners, offering practical tips to maximize your machine’s potential and resolve common issues effectively.
10.2 Joining Sewing Communities for Support
Joining sewing communities is a great way to connect with fellow sewists, share tips, and troubleshoot issues. Online forums, social media groups, and specialized platforms offer valuable resources and support; Many Euro Pro users actively participate in these communities, sharing experiences and solutions. Whether you’re a beginner or an advanced sewer, these groups provide inspiration, advice, and encouragement. Engage with others, ask questions, and showcase your projects to foster a sense of belonging and continuous learning within the sewing community.
10.3 Contacting Euro Pro Customer Service
For assistance with your Euro Pro sewing machine, contact customer service via phone, email, or through their official website. Their support team is available to address warranty inquiries, troubleshooting, and general questions. Ensure your machine is registered for smoother service interactions. Visit their website for contact details and additional resources. Reaching out to Euro Pro customer service is an excellent way to resolve issues and maximize your sewing experience with their reliable support.

Warranty and Support Information
The Euro Pro sewing machine is backed by a 25-year warranty on the machine head and a 2-year warranty on other parts, ensuring long-term support and reliability for your sewing needs.
11.1 Understanding the Warranty Coverage
The Euro Pro sewing machine warranty ensures coverage for parts and labor, providing protection against defects in materials and workmanship. The 25-year warranty applies to the machine head, while a 2-year warranty covers other components. Additionally, electrical components are protected for 5 years. Understanding your warranty coverage helps you maintain compliance and ensures longevity for your machine. Regular maintenance and proper usage are essential to uphold warranty validity. Refer to the manual for detailed terms and conditions to maximize your warranty benefits and enjoy hassle-free sewing experiences.
11.2 How to Register Your Sewing Machine
Registering your Euro Pro sewing machine is a straightforward process that ensures warranty validation and access to exclusive support services. Visit the official Euro Pro website and navigate to the registration section. Fill in the required details, including your personal information and machine serial number. Submit the form and retain the confirmation email for your records. Registration helps maintain warranty eligibility and ensures you receive timely updates and assistance. For any issues, contact Euro Pro customer service for guidance.
11.3 Tips for Keeping Your Machine Under Warranty
To maintain your Euro Pro sewing machine under warranty, ensure proper usage for household purposes only. Regularly clean and lubricate the machine as outlined in the manual. Avoid unauthorized modifications or repairs, as these may void the warranty. Keep the purchase receipt, registration confirmation, and maintenance records. Report any defects promptly and only use genuine Euro Pro parts. Follow all safety guidelines and instructions provided in the manual to ensure warranty coverage remains valid throughout the specified period.